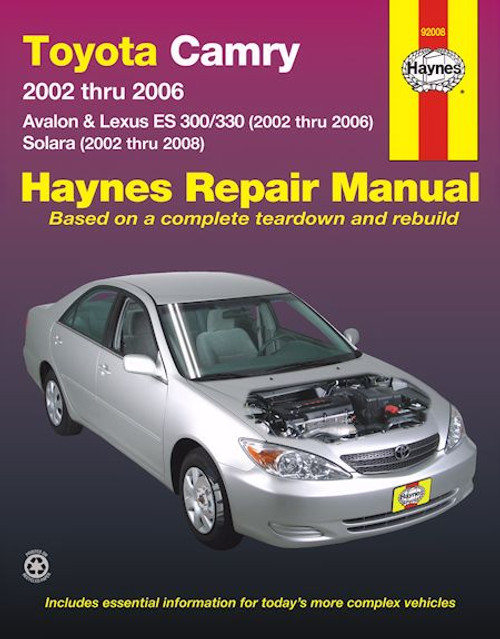
This Chilton repair and service manual covers Toyota Camry, Avalon, Solara and Lexus™ ES300, ES330 models, 2002, 2003, 2004, 2005, and 2006, with transversely-mounted inline four-cylinder and V6 engines, with electronic port fuel injection.
Note: This manual does not include information specific to the 2005-2006 3.5L V6 engine.
Book Excerpt: 2002-2006 Toyota Camry, Avalon, Solara, Lexus ES300, ES330 Repair Manual FOUR-CYLINDER ENGINE
OIL PUMP | REMOVAL AND INSTALLATION REMOVAL
(Refer to illustrations 14.2a, 14.2b, 14.3, 14.5a and 14.5b)
- Refer to Section 6, Steps 1 through 17 and remove the timing chain and the crankshaft sprocket.
- Remove the oil pump drive chain and sprockets (see illustrations).
- Remove the three bolts and detach the oil pump body from the engine (see illustration). You may have to pry carefully between the front of the block and the pump body with a screwdriver to remove it.
- Use a scraper to remove all traces of sealant and old gasket material from the pump body and engine block, and then clean the mating surfaces with lacquer thinner or acetone.
- Inspect the oil pump and chain for wear and damage. If the oil pump shows signs of wear or you're in doubt about its condition it is simply best to replace it. The oil pump drive chain and tensioner, however, can be inspected as follows. Oil pump drive chain stretch is measured by checking the length of the chain between 4 links (8 pins) at 3 or more places (selected randomly) around the chain - if chain stretch exceeds the specifications between any 4 links, the chain must be replaced (see illustration). Wrap the chain around each of the oil pump drive sprockets and measure the diameter of the sprockets across the chain rollers (see illustration 6.20b) - if the measurement is less than the minimum sprocket diameter, the chain and the sprockets must be replaced. Oil pump chain guide wear is measured from the top of the chain contact surface to the bottom of the wear grooves (see illustration 6.21). Also check the oil jet for blockage (see illustration).
MANUAL TRANSAXLE | REMOVAL AND INSTALLATION
REMOVAL
(Refer to illustrations 5.16 and 5.31)
- Place protective covers on the fenders and cowl and remove the hood (see Chapter 11).
- Relieve the fuel system pressure (see Chapter 4).
- Disconnect the negative cable from the battery (see Chapter 5, Section 1).
- If the vehicle is equipped with cruise control, unplug the electrical connector for the actuator and remove the actuator.
- Remove the battery and the battery tray (see Chapter 5).
- Remove the air intake duct and the air cleaner housing (see Chapter 4).
- Release the residual fuel pressure in the tank by removing the gas cap, and then disconnect the fuel lines connecting the engine to the chassis (see Chapter 4). Plug or cap all open fittings.
- Remove the fuel filter and fuel filter mounting bracket (see Chapter 1).
- Remove the starter (see Chapter 5).
- Disconnect the ground cable from the transaxle.
- Disconnect the clutch release cylinder mounting bolts from the transaxle but do NOT disconnect the hydraulic line. Remove the two mounting bolts from the clutch line bracket. Also disconnect the clutch accumulator mounting bolts and set the assembly to the side.
- Clearly label, and then disconnect all vacuum lines, coolant and emissions hoses, wiring harness connectors (VSS and back-up light switch) and ground straps.
The Total Care Chilton 68202 repair manual for the Toyota Camry, Avalon, Solara and Lexus ES300/330 models is a thorough DIY repair manual with outstanding quality. The steps and procedures for each component in your car are written to be easily understood. The repair instructions and steps include photos and exploded views to emphasize strategies to help you succeed in your repair and service adventures - and save money at the same time.
Pick up this fine Chilton repair manual today so you can start repairing, servicing and maintaining your Toyota or Lexus tomorrow.
Subject: 2002, 2003, 2004, 2005, 2006 Toyota Camry, Avalon, Solara, Lexus ES300/330 service, maintenance, and repair procedures. ISBN-10: 1563927977 | ISBN-13: 9781563927973 | Chilton 68202
Introduction: About this manual | Introduction | Vehicle identification numbers | Maintenance techniques, tools and working facilities | Buying parts | Jacking and towing | Booster battery (jump) starting | Conversion factors | Automotive chemicals and lubricants | Safety first! | Troubleshooting
- Tune-up and routine maintenance
- Four-cylinder engine
- V6 engine
- General engine overhaul procedures
- Cooling, heating and air-conditioning systems
- Fuel and exhaust systems
- Engine electrical systems
- Emissions and engine control systems
- Manual transaxle
- Automatic transaxle
- Clutch and driveaxles
- Brakes
- Suspension and steering systems
- Body
- Chassis electrical system
- Wiring diagrams


