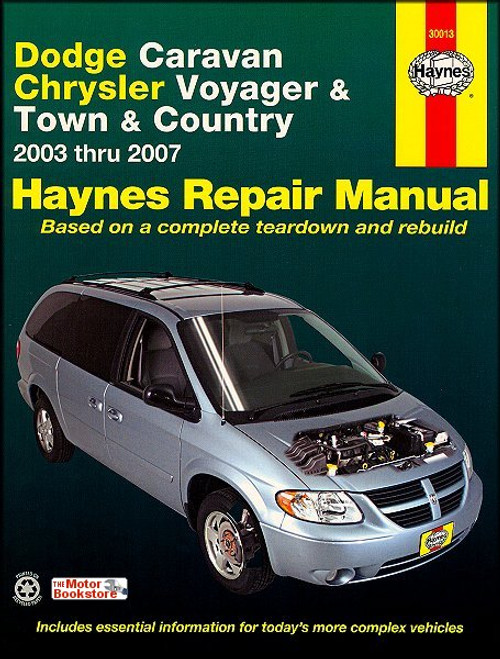
This Chilton repair manual covers 1996-2002 Chrysler Town and Country, Dodge Caravan, Grand Caravan, and 1996-2002 Plymouth Voyager and Grand Voyager, U.S. and Canadian models.
Book Excerpt: 1996-2002 Dodge Caravan, Plymouth Voyager, Chrysler Town and Country Repair Manual GENERAL ENGINE OVERHAUL PROCEDURES
BRAKES
Subject: 1996, 1997, 1998, 1999, 2000, 2001, 2002 Chrysler Town and Country, Dodge Caravan, Grand Caravan, Plymouth Voyager, Grand Voyager, service, maintenance, repair. ISBN-10: 0801991153 | ISBN-13: 9780801991158 | Chilton 20302
Book Excerpt: 1996-2002 Dodge Caravan, Plymouth Voyager, Chrysler Town and Country Repair Manual GENERAL ENGINE OVERHAUL PROCEDURES
MAIN AND CONNECTING ROD BEARINGS | INSPECTION
(Refer to illustration 23.1)
- Main and connecting rod bearings should be replaced with new ones during engine overhaul. The old bearings should be retained. They may reveal valuable information about the condition of the engine (see illustration).
- Bearing failure occurs because of lack of lubrication, the presence of dirt or foreign particles, overloading the engine, and corrosion . Regardless of the cause of bearing failure, it must be corrected before the engine is reassembled to prevent it from happening again.
- To examine the bearings, remove them from the engine block, the main bearing caps, the connecting rods. and the rod caps. Lay them on a clean surface in the same position as their location in the engine. This will enable you to match bearing problems with the corresponding crankshaft journal.
- Dirt and foreign particle can get into the engine in a variety of ways. It may be left in the engine during assembly, or it may pass through filters or the PCV system. It may get into the oil, and from there into the bearings. Metal chips from machining operations and normal engine wear are often present. Abrasives are sometimes left in the engine components after reconditioning, especially when parts aren't thoroughly cleaned. Whatever the source, these foreign objects often end up embedded in the soft bearing material. Large particles won't embed in the bearings and will score or gouge the bearing and journal. The best prevention for this cause of bearing failure is to clean all parts thoroughly and keep everything spotlessly clean during engine assembly. Frequent and regular oil changes are also recommended.
- Lack of lubrication (or lubrication breakdown) has a number of interrelated causes. Excessive heat (which thins the oil), overloading (which squeezes the oil from the bearing face) and oil leakage or throw off (from excessive bearing clearances, worn oil pump or high engine speeds) all contribute to lubrication breakdown. Blocked oil passages, usually the result of misaligned oil holes in a bearing shell, will oil starve a bearing and destroy it. When lack of lubrication is the cause of bearing failure, the bearing material is wiped or extruded from the steel backing of the bearing. Temperatures may increase to the point where the steel backing turns blue from overheating.
BRAKES
WHEEL CYLINDER | REMOVAL AND INSTALLATION Note: If replacement is warranted (usually because of fluid leakage or sticky operation) explore all options before beginning the job. New wheel cylinders are available, which makes this job quite easy. Never replace only one wheel cylinder. Always replace both of them at the same time. REMOVAL (Refer to illustration 7.2)
- Remove the rear brake shoes (see Section 6).
- Using a flare-nut wrench (if available) disconnect the brake line fitting from the rear wheel cylinder (see illustration). Don't pull the line away from the cylinder, as this could bend the line and make threading the fitting into the wheel cylinder difficult.
- Remove the two bolts securing the wheel cylinder to the backing plate and remove the wheel cylinder. Plug the line to prevent excess fluid loss and contamination.
- Apply a film of RTV sealant to the wheel cylinder mounting area on the brake backing plate. Installation is other wise the reverse of removal. Tighten the wheel cylinder mounting bolts to the torque listed in this Chapter's Specification Section. Tighten the line fitting securely.
- Install the brake shoes and the brake drum ( see Section 6).
- Bleed the brakes (see Section 11). Carefully test brake operation before resuming regular operation.
Subject: 1996, 1997, 1998, 1999, 2000, 2001, 2002 Chrysler Town and Country, Dodge Caravan, Grand Caravan, Plymouth Voyager, Grand Voyager, service, maintenance, repair. ISBN-10: 0801991153 | ISBN-13: 9780801991158 | Chilton 20302
TABLE of CONTENTS:
Introduction: About this manual | Introduction | Vehicle identification numbers | Maintenance techniques, tools and working facilities | Buying parts | Jacking and towing | Booster battery (jump) starting | Conversion factors | Automotive chemicals and lubricants | Safety first! | Troubleshooting
- Tune-up and routine maintenance
- Four-cylinder engine; 3.0L V6 engine; 3.3L and 3.8L
- V6 engines; general engine overhaul procedures
- Cooling, heating and air-conditioning systems
- Fuel and exhaust systems
- Engine electrical systems
- Emissions control systems
- Automatic transaxle
- Driveaxles
- Brakes
- Suspension and steering systems
- Body
- Chassis electrical system
- Wiring diagrams


