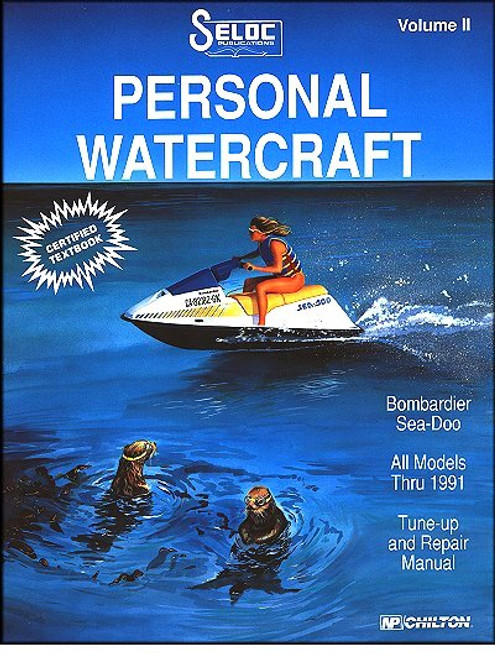
This Seloc repair and service manual covers 1988-1991 Sea-Doo Personal Watercraft (PWC) and all Bombardier/Sea-Doo models.
Whether you have a sit-down or a stand-up water scooter, this service manual will point the way for you to handle repairs and maintenance of these inboard engine-driven PWCs. Learn how to troubleshoot fuel problems like a plugged fuel filter, a defective fuel pump, a defective choke or a clogged fuel filter. The manual numbers 262 pages, and many of them are packed with helpful photos, illustrations and diagrams that can aid the amateur mechanic in maintaining his Sea-Doo. Wiring diagrams are included in the book published by Seloc Marine, and you'll also get pointers on maintaining and repairing issues with the engine, ignition system, electrical system and jet pump, as well as how to tune the engine and make control adjustments.
Order the Sea-Doo Repair Manual 1988-1991 from The Motor Bookstore and get it with free shipping anywhere in the continental United States. The manual usually ships the same business day.
Book Excerpt: 1988-1991 Sea-Doo Repair Manual TROUBLESHOOTING
ENGINE
Subject: 1988, 1989, 1990, 1991 Sea-Doo service, maintenance, repair. ISBN-10: 0893300330 | ISBN-13: 9780893300333
Whether you have a sit-down or a stand-up water scooter, this service manual will point the way for you to handle repairs and maintenance of these inboard engine-driven PWCs. Learn how to troubleshoot fuel problems like a plugged fuel filter, a defective fuel pump, a defective choke or a clogged fuel filter. The manual numbers 262 pages, and many of them are packed with helpful photos, illustrations and diagrams that can aid the amateur mechanic in maintaining his Sea-Doo. Wiring diagrams are included in the book published by Seloc Marine, and you'll also get pointers on maintaining and repairing issues with the engine, ignition system, electrical system and jet pump, as well as how to tune the engine and make control adjustments.
Order the Sea-Doo Repair Manual 1988-1991 from The Motor Bookstore and get it with free shipping anywhere in the continental United States. The manual usually ships the same business day.
Book Excerpt: 1988-1991 Sea-Doo Repair Manual TROUBLESHOOTING
FUEL PROBLEMS Many times fuel system troubles are caused by a plugged fuel filter, a defective fuel pump, or by a leak in the line from the fuel tank to the fuel pump. A defective choke may also cause problems. WOULD YOU BELIEVE, a majority of starting troubles which are traced to the fuel system are the result of empty fuel tank, clogged fuel filter, or aged "sour" fuel.
FUEL FILTER AND SEDIMENT BOWL SERVICE Some models are equipped with a fuel filter and sediment bowl mounted inside the engine compartment.
WORDS OF CAUTION Be sure to loosen the fuel filler cap on the fuel tank to relieve any pressure built up inside the fuel system BEFORE removing the sediment bowl. Have a shop cloth handy to catch any spilled fuel. Unthread the ring nut and pull down the sediment bowl with the fuel filter inside. A large O-ring seals the bowl to the filter cap and ring nut. The function of this O-ring is to prevent fuel and air leaks. If the O-ring is defective, the fuel pump will draw air into the system and the engine will either not start, will falter, or will die. Sometimes, this problem is not apparent with a full fuel tank, because the fuel is gravity fed to the carburetor. When the fuel level drops in the tank, the pump takes over, but its effectiveness is impaired by the air leak at the sediment bowl O-ring. Clean out the sediment bowl and rinse the filter screen in solvent every 25 hours of engine operation.
CHOKE PROBLEMS When the engine is hot, the fuel system can cause starting problems. After a hot engine is shut down, the temperature inside the fuel bowl may rise to 200 degrees F and cause the fuel to actually boil. All carburetors are vented to allow this pressure to escape to the atmosphere. However, some of the fuel may percolate over the high-speed nozzle. If the choke should stick in the open position, the engine will be hard to start. If the choke should stick in the closed position, the engine will flood making it very difficult to start. In order for this raw fuel to vaporize enough to burn, considerable air must be added to lean out this mixture. Therefore, the only remedy is to remove the spark plugs; ground the leads; crank the engine through about ten revolutions; clean the plugs; install the plugs; and again attempt to start the engine. The attempt should be successful.
ENGINE
EXHAUST SYSTEM REMOVAL
- Snip the tie wrap and remove the drain tube from tuned exhaust pipe.
- Loosen the clamps on the water injection hose and the inlet hose on the tuned exhaust pipe. Pull the hoses free of the fittings.
- Loosen the large clamp securing the tuned exhaust pipe to the engine. Remove and SAVE the rubber cushioning strip.
- Loosen the two clamps on the hose connecting the tuned exhaust pipe to the muffler. This disconnect is necessary to provide some free play for the exhaust pipe to be moved forward and removed from the craft at a later time.
- Unhook the muffler from the latch on the hull.
- Remove the four nuts and washers securing the tunes exhaust pipe flange to the exhaust manifold. There is not enough room to lift the tuned exhaust pipe up over the exhaust manifold studs and out of the craft. Therefore, the exhaust pipe must be lifted up and moved aft while the studs are removed.
Subject: 1988, 1989, 1990, 1991 Sea-Doo service, maintenance, repair. ISBN-10: 0893300330 | ISBN-13: 9780893300333
TABLE of CONTENTS:
- Description and operation
- Safety
- Engine tuning
- Maintenance
- Troubleshooting
- Fuel system
- Ignition system
- Engine mechanical
- Electrical system
- Jet pump
- Control adjustments
- Wiring diagrams


