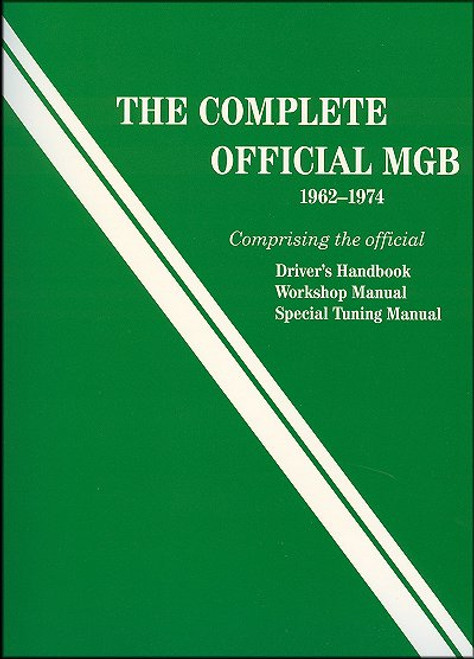
This DIY repair workshop manual by Haynes, covers all 1962-1980 MGB Roadster, MGB GT Coupe models, with 1.8L engines and 4-speed manual and automatic transmissions. This manual is perfect for do-it-yourself mechanics as it covers everything, from the most basic and simple maintenance taks to more advanced service jobs to complete engine rebuilding. Also covers all major systems in detail. The ideal companion for the weekend DIY mechanic or the classic MGB restorer. Note: this manual DOES NOT cover the MGB GT V8 model.
Book Excerpt: 1962-1980 MGB Roadster, GT Coupe 1.8 Liter Repair and Service Manual COOLING SYSTEM
ELECTRICAL SYSTEM
Subject: 1962, 1963, 1964, 1965, 1966, 1967, 1968, 1969, 1970, 1971, 1972, 1973, 1974, 1975, 1976, 1977, 1978, 1979, 1980 MGB Roadster, GT Coupe 1.8 Liter service, maintenance, repair. ISBN-10: 0856966231 | ISBN-13: 9780856966231 | Haynes 66010
Book Excerpt: 1962-1980 MGB Roadster, GT Coupe 1.8 Liter Repair and Service Manual COOLING SYSTEM
FANBELT | ADJUSTMENT, REMOVAL AND REFITTING ADJUSTMENT
- Check the belt tension and condition frequently. Tension so that the total sideways movement in the longest run of the belt is as indicated in the Specifications.
- A loose belt will slip, wear rapidly, and cause generator and water pump faults. A tight belt will cause rapid wear of generator and pump bearings.
- To adjust the belt, slacken the generator securing bolts and move it in or out to obtain the correct tension. It can help to slacken the bolts only slightly so that some force is required to move the generator, thus making the exact setting easier to arrive at (photo).
REMOVAL- Renew a worn or stretched belt, and always carry a spare.
- To remove a belt, loosen the bolts and push the generator in towards the engine.
- Slip the belt over the pulleys, and remove it.
- If the belt has broken in service, the procedure is the same except that there is no belt to remove.
INSTALLATION- To refit, reverse the removal procedure and adjust the belt.
- Check a new belt frequently at first, and adjust as necessary to take up initial stretch.
ELECTRICAL SYSTEM
STARTER MOTOR, LUCAS TYPE M418G INERTIA ENGAGED | REMOVAL AND INSTALLATION
- Disconnect the battery ground lead, and the starter motor cable from the terminal on the starter motor end plate.
- Remove the distributor (see Chapter 4). Remove the oil filter, the ignition coil and coil attachment bracket.
- Remove the two bolts which hold the starter motor to the engine. Lift the motor out of engagement and upwards out of the engine compartment. Space is confined at this point, and careful levering of the engine against the mountings can help to provide a little more clearance.
- Installation is the reverse of the removal procedure.
STARTER MOTOR, LUCAS TYPE M418G INERTIA ENGAGED | DISMANTLING, SERVICING AND REASSEMBLING
- Loosen the screw and remove the cover bank. Referring to Fig. 10.4, lift back each of the brush springs using a piece of bent wire. Check the movement of the brushes in their holders by pulling on the flexible connectors. If the brushes are worn, replace them. If any stick in their holders, wash them with a petrol-moistened cloth and, if necessary, lightly polish the sides of the brush with a fine file. If the surface of the commutator is dirty or blackened, clean it with a gasoline dampened rag.
- Secure the motor in a vice and connect a heavy gauge cable between the motor terminal and a 12-volt battery. Connect the other battery terminal to the starter motor body. If the motor turns at high speed it is in good order.
- If the motor is still inoperative, or if the brushes are to be renewed, the motor must be further dismantled. Lift the springs from the brushes using a wire hook, and take the brushes from their holders.
- At the drive end of the motor, remove the circlip from the end of the drive head sleeve. Remove the front spring anchor plate, the main spring and the rear anchor plate. Pull out the pin holding the drive head sleeve to the armature shaft and slide the sleeve assembly down the shaft. Remove the Woodruff key. Push the complete drive assembly from the armature shaft.
Subject: 1962, 1963, 1964, 1965, 1966, 1967, 1968, 1969, 1970, 1971, 1972, 1973, 1974, 1975, 1976, 1977, 1978, 1979, 1980 MGB Roadster, GT Coupe 1.8 Liter service, maintenance, repair. ISBN-10: 0856966231 | ISBN-13: 9780856966231 | Haynes 66010
TABLE of CONTENTS:
Introduction: Vehicle identification numbers. Buying parts. Safety. Maintenance techniques. Chemical and lubricants, and more.
- Tune-up and routine maintenance
- Engine: 1.8L 4-cylinder, inline, overhead valve, pushrod operated
- Cooling, heating and air-conditioning systems
- Fuel and exhaust systems
- Engine electrical systems
- Emissions control systems
- Transmission: manual, overdrive, automatic
- Driveline
- Brakes
- Suspension and steering systems
- Body
- Chassis electrical system
- Wiring diagrams


