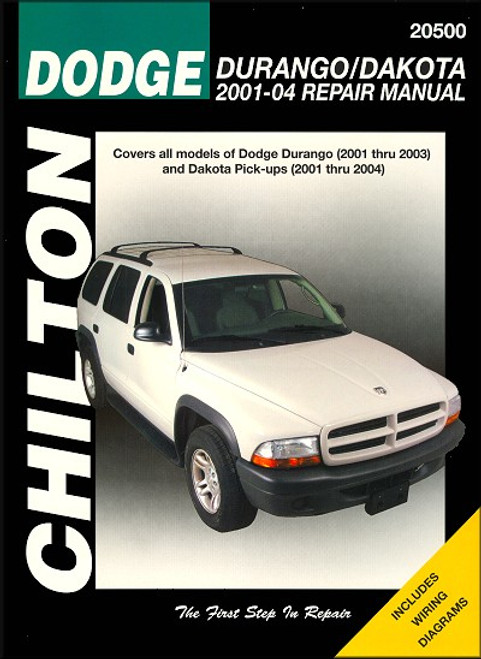
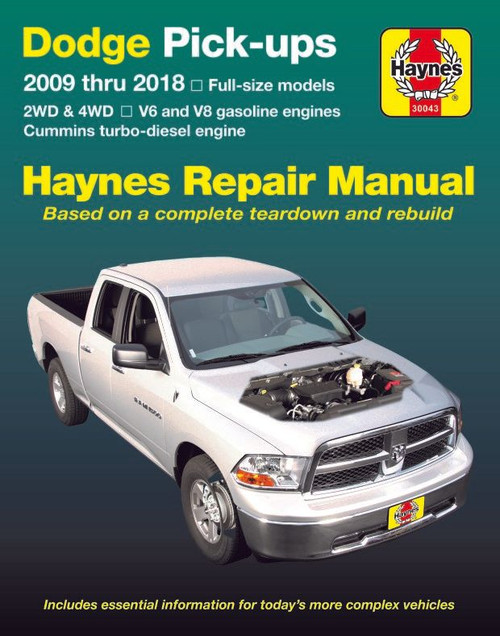
The Dodge Durango 2004-2009, Dodge Dakota Trucks 2005-2011 Repair Manual by Haynes provides DIY repair and service procedures and instructions. This manual covers 2004-2009 Dodge Durango SUVs (Sport Utility Vehicles), and 2005-2011 Dodge Dakota pickup trucks.
Dodge Dakotas are available in Standard, Extended and Quad Cab body styles, both with short- or long-beds, and Durangos and Dakotas are available in 2WD or 4WD versions.
Engines offered include a 3.7L V6, a 4.7L V8, and a 5.7L Hemi V8 (only on Durango models). Transmissions used are 6-speed manual or an automatic (either a 4- or a 5-speed version). Durango SUVs are only available with automatic transmissions.
Book Excerpt: 2004-2009 Dodge Durango SUV and 2005-2011 Dodge Dakota Pickups Repair Manual TROUBLESHOOTING | AUTOMATIC TRANSMISSION
TRANSMISSION SLIPS, SHIFTS ROUGH OR IS NOISY
- There are many probable causes for the above problems, but the home mechanic should be concerned with only one possibility ? fluid level.
- Before taking the vehicle to a repair shop, check the level and condition of the fluid as described in Chapter 1. Correct the fluid level as necessary or change the fluid and filter if needed. If the problem persists, have a professional diagnose the probable cause.
TRANSMISSION FLUID LEAKAGE
- Automatic transmission fluid is a deep red color. Fluid leaks should not be confused with engine oil, which can easily be blown by airflow to the transmission.
- To pinpoint a leak, first remove all built-up dirt and grime from around the transmission. Degreasing agents and/or steam cleaning will achieve this. With the underside clean, drive the vehicle at low speeds so airflow will not blow the leak far from its source. Raise the vehicle and determine where the leak is coming from. Common areas of leakage are the pan, filler pipe, transmission oil lines, vent pipe, and speedometer connector.
TRANSFER CASE DIFFICULT TO SHIFT
- Speed may be too great to permit engagement. Stop the vehicle and shift into the desired range.
- Shift linkage loose, bent or binding. Check the linkage for damage or wear and replace or lubricate as needed (see Chapter 7C).
- If the vehicle has been driven on a paved surface for some time, the driveline torque can make shifting difficult. Stop and shift into two-wheel drive on paved or hard surfaces.
- Insufficient or incorrect grade of lubricant. Drain and refill the transfer case with the specified lubricant (Chapter 1).
- Worn or damaged internal components. Disassembly and overhaul of the transfer case, by a qualified shop, may be necessary.
TRANSFER CASE NOISY IN ALL GEARS
- Insufficient or incorrect grade of lubricant. Drain and refill (Chapter 1).
NOISY OR JUMPS OUT OF FOUR-WHEEL DRIVE LOW RANGE
- Transfer case not fully engaged. Stop the vehicle, shift into Neutral and then engage 4L.
- Shift linkage loose, worn or binding. Tighten, repair or lubricate linkage as needed.
- Shift fork cracked, inserts worn or fork binding on the rail. Disassemble and repair as necessary (see Chapter 7C).
LUBRICANT LEAKS FROM VENT OR OUTPUT SHAFT SEALS
- Transfer case is overfilled. Drain to the proper level (Chapter 1).
- Vent is clogged or jammed close. Clear or replace vent.
- Output shaft seal incorrectly installed or damaged. Replace the seal and check contact surfaces for nicks and scoring.
DRIVESHAFT LEAKING OIL AT SEAL END
- Defective transmission or transfer case oil seal. See Chapter 7 for replacement procedures. While this is done, check the splined yoke for burrs or a rough condition that may be damaging the seal. Burrs can be removed with crocus cloth or a fine whetstone.
KNOCK OR CLUNK JUST AFTER TRANSMISSION IS PUT INTO GEAR
- Loose or disconnected rear suspension components. Check all mounting bolts, nuts and bushings (see Chapter 10).
- Loose driveshaft bolts. Inspect all bolts and nuts and tighten them to the specified torque.
- Worn or damaged universal joint bearings. Check for wear (see Chapter 8).
SUSPENSION AND STEERING SYSTEMS
STABILZER BAR AND BUSHINGS (REAR) | REMOVAL AND INSTALLATION
- Raise the vehicle and support it securely on jackstands.
- Remove the nuts from the stabilizer bar link and separate it from the bar (see illustration).
- Remove the stabilizer bar bracket fasteners and remove the brackets.
- Remove the stabilizer bar. Remove the rubber bushings from the stabilizer bar.
- Inspect all rubber bushings for wear and damage. If any of the rubber parts are cracked, torn or generally deteriorated, replace them.
- Installation is the reverse of removal. Be sure to tighten all the fasteners to the torque listed in this Chapter?s Specifications and to reinstall the parking brake cable bracket (if so equipped). Tighten the wheel lug nuts to the torque listed in the Chapter 1 specifications.
If you are interested in learning more about your 3rd generation Dodge Dakota from like minded Dodge Dakota enthusiasts, we recommend this high quality 3rd Gen Dakota FORUM. You may even find a great connection to some discount part retailers. For the Durango, we think the 3rd Gen Dakota Dodge Durango FORUM is one of the best sources of information for your Durango.
At The Motor Bookstore, we enjoy providing you the best selection of DIY literature for cars, trucks, motorcycles, ATVs, tractors, outboards, RVs and much more. If you need to repair your vehicle or you are interested in learning how to enhance the performance of your muscle or sports car, we have you covered. Additionally, we offer a 30 day money back guarantee and Fast and Free Shipping.
Subject: 2004, 2005, 2006, 2007, 2008, 2009, 2010, 2011 Dodge Durango SUV, Dodge Dakota pickup truck service, maintenance, and repair instructions. ISBN-10: 1563929562 | ISBN-13: 9781563929564 | Haynes 30023
- Introduction: Vehicle identification numbers; Buying parts; Maintenance techniques, and more.
- Tune-up and routine maintenance
- 3.7L V6 engine
- 4.7L V8 engine
- 5.7L V8 Hemi engine
- Engine and overhaul procedures
- Cooling, heating and air-conditioning systems
- Fuel and exhaust systems
- Engine electrical systems
- Emissions control systems
- Manual transmission
- Automatic transmission
- Transfer case
- Driveline
- Brakes, ABS
- Suspension and steering systems
- Body
- Chassis electrical system
- Wiring diagrams


