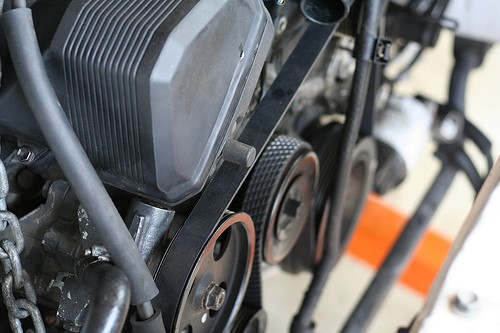
How to Replace the Serpentine Belt

The serpentine accessory belt on your vehicle is responsible for driving several components, including the water pump, power-steering pump, air-conditioning compressor and alternator. Older cars employ a multiple belt system that powers individual devices separately from the others.
When to Replace the Serpentine Belt
Your serpentine belt might be ready for replacing if you start to hear a disconcerting squealing noise emanating from under the hood. It could signify that your belt is either cracked or frayed. The noise may initially appear briefly and then go away. But, like most problems with a car, trying to will them away by hopefully telling yourself "maybe it's nothing" isn't going to fix the problem. Eventually, that squeal that once made a cameo appearance is going to become a regular cast member until you address the problem. Here's how to avoid a costly trip to the mechanic so you can replace the serpentine belt yourself.
Modern serpentine belts drive every engine accessory at once, and serpentine belt installations employ a spring-loaded tensioner pulley that does away with the need for tension adjustment by keeping a constant preload on the belt. Serpentine belts customarily last around 150,000 miles now.
How do you replace a serpentine belt?
Step 1) Follow the diagram near the belt to help in alignment around the pulleys. Tension pulleys are usually spring-loaded and can be dangerous to adjust, so it's imperative to be careful during the project. Consult your vehicle's repair manual to make sure you know what parts need to come off before replacing the belt.
Step 2) Unbolt the fan shroud and set is aside, but make absolutely certain that your engine is not running before you do this.
Step 3) To remove an old serpentine belt, or to tighten up a new one, turn the tensioner bolt on the tensioner pulley until the right level of tightness is achieved (see your repair manual for the recommended tension on your vehicle's engine). You may need to remove your radiator cooling fan, which is bolted onto the back of the radiator, to access the pulleys.
Step 4) Now that you have unimpeded access to the pulleys, align the grooves of the new serpentine belt with the grooves of the pulleys.
Step 5) After the belt is now wrapped around the proper way, you will need to tighten the belt using the bolt on the tensioner pulley. Once that is done, you have successfully replaced your serpentine belt and are ready to get back on the road.


