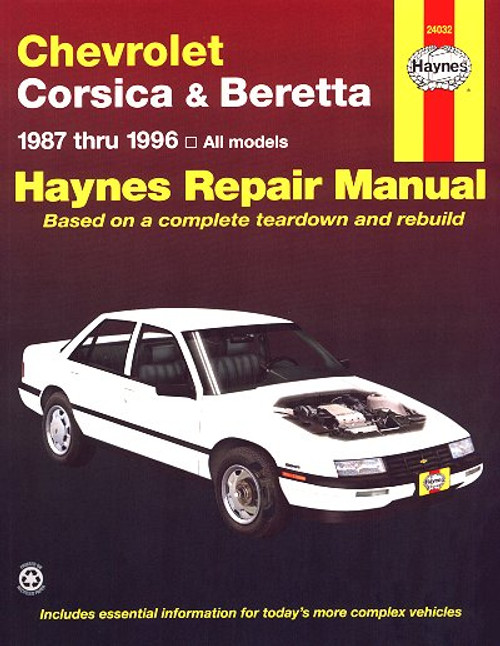
This service, repair and maintenance manual covers 1987-1996 Chevy Corsica and 1987-1996 Chevy Beretta, all models.
Book Excerpt: 1987-1996 Chevy Corsica, Chevy Beretta Repair Manual 2.3L FOUR-CYLINDER (QUAD-4) ENGINE
FUEL AND EXHAUST SYSTEMS
Subject: 1987, 1988, 1989, 1990, 1991, 1992, 1993, 1994, 1995, 1996 Chevrolet Corsica, Beretta service, maintenance, repair. ISBN-10: 1563922061 | ISBN-13: 9781563922060 | Haynes 24032
Book Excerpt: 1987-1996 Chevy Corsica, Chevy Beretta Repair Manual 2.3L FOUR-CYLINDER (QUAD-4) ENGINE
TIMING CHAIN HOUSING | REMOVAL AND INSTALLATION
(Refer to illustration 8.6)
- Remove the timing chain and sprockets (see Section 7).
- Remove the exhaust manifold (see Section 4).
- If you're installing a replacement timing chain housing, remove the water pump (see Chapter 3).
- Remove the timing chain housing-to-belt tensioner bracket brace.
- Remove the four oil pan-to-timing chain housing bolts.
- Remove the timing chain housing-to-block lower fasteners.
- Remove the lowest cover retaining stud from the timing chain housing.
- Remove the rear engine mount nut (see Section 16).
- Loosen the front engine mount nut, leaving about three threads remaining in contact.
- Remove the eight chain housing-to-camshaft housing bolts.
- Position a floor jack under the oil pan, using an 18-inch long piece of wood (2x4) on the jack pad to distribute the weight.
- Raise the engine off the front and rear mounts until the front mount bracket contacts the nut.
- Remove the timing chain housing and gaskets. Thoroughly clean the mating surfaces to remove any traces of old sealant or gasket material.
- Install the timing chain housing with new gaskets (see illustration). Tighten the bolts to the torque listed in this Chapter's Specifications.
- The remaining steps are the reverse of removal.
FUEL AND EXHAUST SYSTEMS
QUICK-CONNECT FUEL LINE FITTINGS | REMOVAL AND INSTALLATION
- New quick-connect fuel line fittings were introduced on 1989 and later models. A special tool (available at most auto parts stores) is required to disconnect them.
- To separate the fuel lines, relieve the fuel system pressure (see Section 2), insert the fuel line separator tool into the fitting and pull the lines apart.
- To reattach quick-connect fittings, push the line into the fitting as far as possible, then pull back on it to verify that the connection is secure. WARNING: The line must be pushed in and pulled back to verify proper connector engagement - DO NOT rely on an audible click or visual verification to check the assembly of the quick-connect fittings.
RUBBER HOSE- When rubber hose is used to replace a metal line, use reinforced, fuel resistant hose with the word "Flouroelastomer" imprinted on it. Hose(s) not clearly marked like this could fail prematurely and could fail to meet Federal emission standards. Hose inside diameter must match line outside diameter.
- Don't use rubber hose within four inches of any part of the exhaust system or within ten inches of the catalytic converter. Metal lines and rubber hoses must never be allowed to chafe against the frame. A minimum of 1/4-inch clearance must be maintained around a line or hose to prevent contact with the frame.
REMOVAL AND INSTALLATION
(Refer to illustrations 4.13, 4.19 and 4.20) NOTE: The following procedure and accompanying illustrations are typical for vehicles covered by this manual.- Relieve the fuel pressure and disconnect the fuel feed, return or vapor line at the fuel tank (see illustration).
- Detach the bracket from the rear crossmember.
Subject: 1987, 1988, 1989, 1990, 1991, 1992, 1993, 1994, 1995, 1996 Chevrolet Corsica, Beretta service, maintenance, repair. ISBN-10: 1563922061 | ISBN-13: 9781563922060 | Haynes 24032
TABLE of CONTENTS:
Introduction: Vehicle identification numbers. Buying parts. Safety. Maintenance techniques. Chemical and lubricants, and more.
- Tune-up and routine maintenance
- General engine overhaul procedures
- Cooling, heating and air-conditioning systems
- Fuel and exhaust systems
- Engine electrical systems
- Emissions control systems
- Transmission
- Driveline
- Brakes
- Suspension and steering systems
- Body
- Chassis electrical system
- Wiring diagrams


