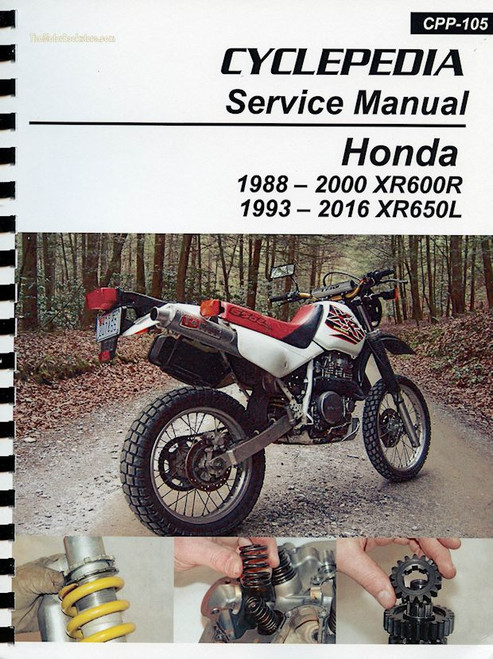
The 1983-2014 Honda XL600R, XR600R, XR650L, XL650R repair manual by Haynes covers the following model year off-road motorcycles:
- Honda XL600R (589cc), 1983-1987
- Honda XR600R (591cc), 1985-2000
- Honda XR650L (664cc), 1993-2014
- Honda XR650R (649cc), 2000-2007
The Haynes 2183 service manual is based on a complete teardown and rebuild of the Honda XL/XR series motorcycles. The DIY repair and service procedures are a well written set of instructions for simple maintenance based tasks to a complete engine rebuild, and everything in between.
You will find color wiring diagrams along with exploded views and step wise subordinate photography to help you understand what needs to be done so you can DIY and save.
Book Excerpt: 1983-2014 Honda XL600R, XR600R, XR650L, XL650R Repair Manual TUNE UP AND ROUTINE MAINTENANCE
CYLINDER COMPRESSION | CHECK
- Among other things poor engine performance may be caused by leaking valves, incorrect valve clearances a leaking head gasket, or a worn piston, rings and/or cylinder wall. A cylinder compression check will help pinpoint these conditions and can also indicate the presence of excessive carbon deposits in the cylinder head.
- The only tools required are a compression gauge and a spark plug wrench. Depending on the outcome of the initial test, a squirt- type oil can also be needed.
- Start the engine and allow it to reach normal operating temperature, then remove the spark plug. Work carefully- don?t strip the spark plug hole threads and don?t burn your hands.
- Remove the fuel tank (see Chapter 4), then disable the ignition by disconnecting the primary (low tension) wires from the coil (see Chapter 5). Be sure to mark the locations of wires before detaching them.
- Install the compression gauge in the spark plug hole (see illustration). Hold or block the throttle wide open.
- Kick the engine over a minimum of four or five revolutions (or until the gauge reading stops increasing) and observe the initial movement of the compression gauge needle as well as the final total gauge reading. Compare the results of the value listed in this Chapter?s Specifications (use the ?Decompressor applied? value on 1988 and later models).
- If the compression built up quickly and evenly to the specified amount, you can assume the engine upper end is in reasonably good mechanical condition. Worn or sticking piston rings and worn cylinders will produce very little initial movement of the gauge needle, but compression will tend to build up gradually as the engine spins over. Valve and valve seat leakage, or head gasket leakage, is indicated by low compression which does not tend to build up.
- To further confirm your findings, add a small amount of engine oil to the cylinder by inserting the nozzle of a squirt-type oil can through the spark plug hole. The oil will tend to seal the piston rings if they are leaking.
IGNITION AND ELECTRICAL SYSTEMS
IGNITION TIMING | GENERAL INFORMATION AND CHECK GENERAL INFORMATION
- The ignition timing cannot be adjusted. Since none of the ignition system parts are subject to mechanical wear, there should be no need to check timing, unless you?re troubleshooting a problem such as loss of power.
- The ignition timing is checked with the engine running, at idle and at an accelerated engine speed, as indicated in this Chapter?s Specifications.
- A (less expensive) neon timing light is probably adequate, but it might produce a dim pulse that the timing marks are hard to see. An external powered xenon timing light is more precise because it doesn?t use the vehicle battery (on models so equipped), which can produce an incorrect reading because of stray electrical pulses in the system.
Subject: 1983, 1984, 1985, 1986, 1987, 1988, 1989, 1990, 1991, 1992, 1993, 1994, 1995, 1996, 1997, 1998, 1999, 2000, 2001, 2002, 2003, 2004, 2005, 2006, 2007, 2008, 2009, 2010, 2011, 2012, 2013, 2014 Honda XL600R, XR600R, XR650L, XL650R service, maintenance, and repair instructions. ISBN-10: 1620921677 | ISBN-13: 9781620921678 | Haynes 2183
- Engine/transmission oil level check
- Coolant level check
- Brake fluid level checks
- Tire checks
- Specifications
- Recommended lubricants and fluids
- Maintenance schedule
- Component locations
- Maintenance procedures
- Engine (air-cooled), clutch and transmission
- Engine (liquid-cooled), clutch and transmission
- Cooling system (XR650R models)
- Fuel and exhaust systems
- Ignition and electrical systems
- Steering
- Suspension
- Final drive
- Brakes
- Wheels
- Tires
- Frame and bodywork
- Dimensions and weights
- Tools and workshop tips
- Storage


